Are Thin Eyebrows Back? And Here’s How To Make Rihanna’s Flower Crown…

This week we have a 70s beauty theme going on. Following on from yesterday’s post about the ‘Purdey’ hairdo, today we’re looking at pop idol Rihanna’s thinly plucked eyebrows, featured on the cover of this month’s Vogue, which have set the beauty world buzzing! Anyone who was young in the 70s probably remembers the high maintenance tweezing required to get perfectly thin brows. Unfortunately, for some of us our brows have never recovered which has been bad news during the ‘natural brows’ fad that’s lasted for a while. There’s always a chance thin brows will make a proper comeback!
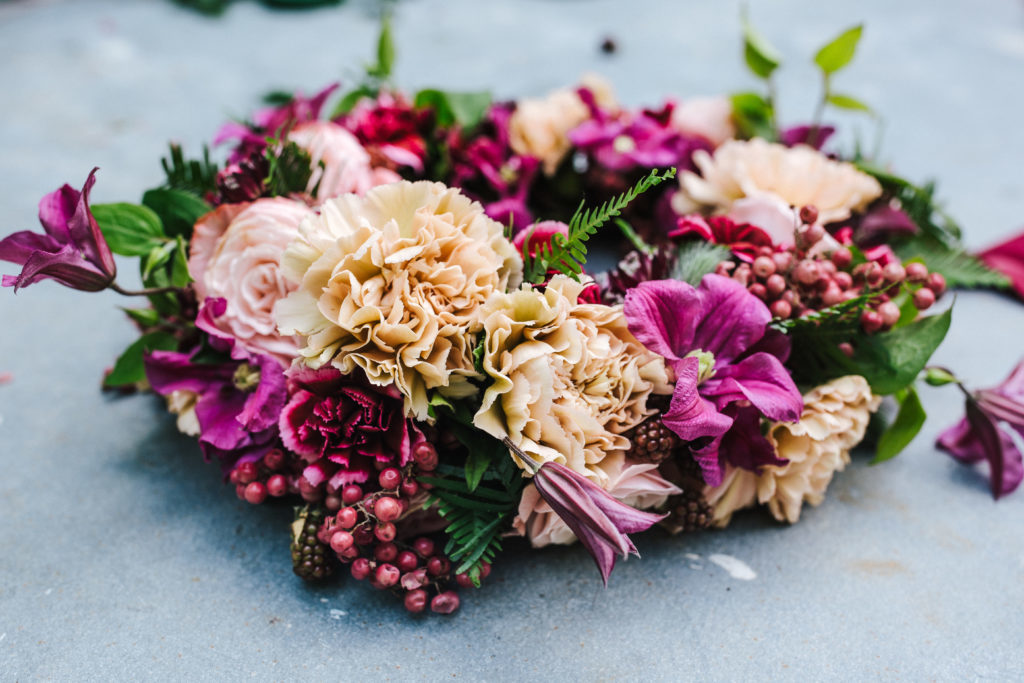
It’s not just Rihanna’s brows that caused a sensation – Rihanna’s huge flower crown made with real blooms is stunning.
To help fans get the look, Funnyhowflowersdothat.co.uk has created a how-to guide for perfect flower crowns you can make at home.
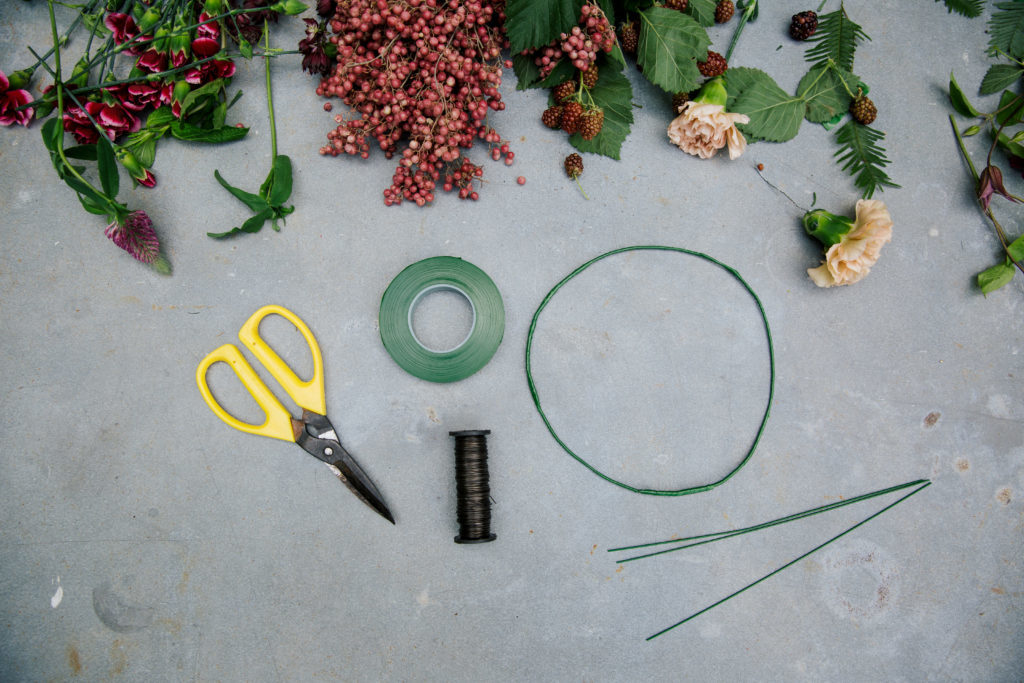
You will need:
· Scissors
· Thin wire
· 1.25mm gauge wire
· 1cm wide ribbon (approx. 30cm long)
· Floral tape
· A selection of flowers (around 30 stems in total per crown)
· Foliage
Method
STEP ONE:
Trim the stalks of your flowers so they are just 5cm in length, and discard any loose stalks and leaves
STEP TWO:
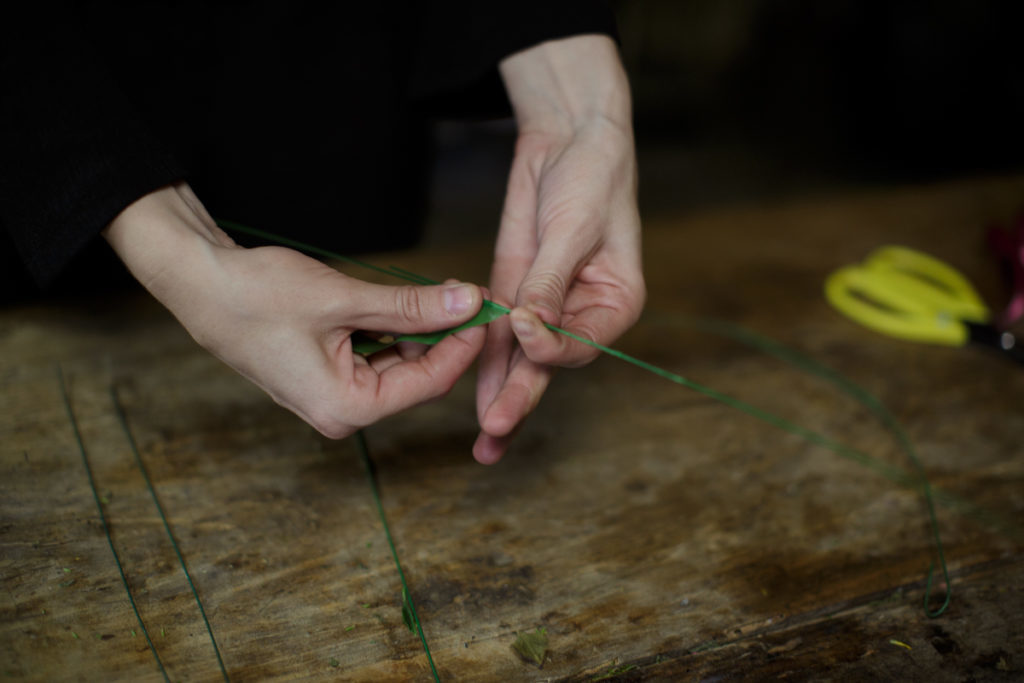
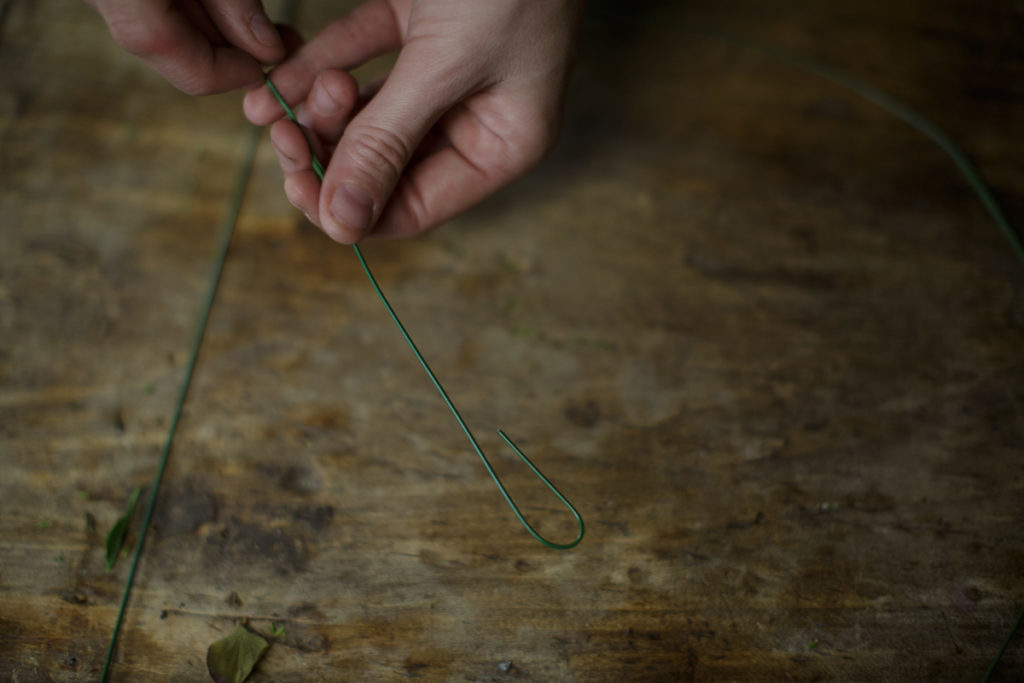
Cut your thin wire into 20cm lengths. Take one of these lengths and bend to create a u-shape. Take your flower stem and place the u-shape on top of the stalk, then take one leg of the wire and twist it around the flower stem. This will ensure all of the flowers can be easily manipulated around the crown. For bigger flowers such as hydrangeas, break them up into smaller florets and wire up each section. Repeat this for all your flowers, so that each stalk is wired up.
STEP THREE:
Now you want to create the base of your flower crown. To do this, take two pieces of gauge wire. Use your second wire to extend the length of the first, overlapping the two so that they join in the middle but make one long wire shape. Take your floral tape and starting at one end and twist around and down to bind the wires together. You will end up with a single long wire, covered in floral tape
STEP FOUR:
Take the two clean ends of wire and bend in to create a U shape loop on each end. This is for your ribbon to thread through at the end
STEP FIVE:
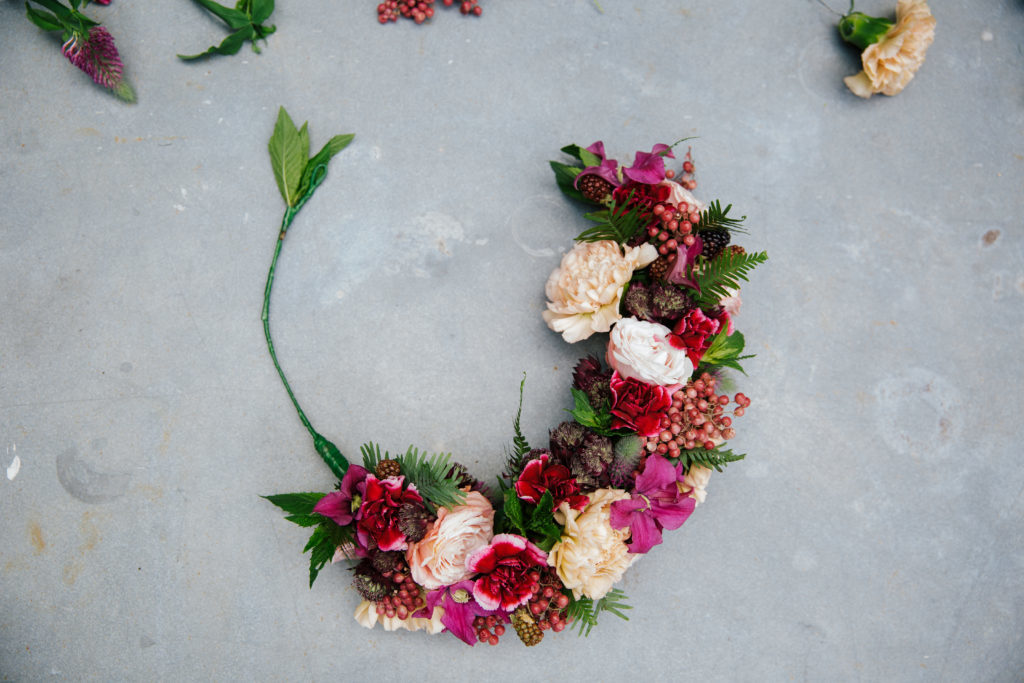
Mold the wire into a crescent moon shape, to mimic the shape of your forehead.
STEP SIX:
Now it’s time to attach the flowers to your crown! Lay out your flowers in front of your crown, to map out your desired design. Then, leave a 10cm gap from the end of the wire and start by taking one of your wired flower stems. Lay it on top of the gauge wire. Take your floral tape and wrap it around the stem and crown to attach it. You can manipulate the shape of the stems. Continue to repeat this process with your flowers, placing them in nooks and crannies around each other, layering them up the crown. You can trim back excess wire along the way. Move in the direction towards the middle of the wire crown
STEP SEVEN:
Once you reach the middle, flip the crown around and take the opposite end of the gauge wire, leaving a 10cm gap. Start by attaching the wired stems onto the gauge wire using the floral tape like you did with the other end. Repeat until you join in the middle and have a smooth row of flowers.
STEP EIGHT:
Take your ribbon and thread through one of the loops. Take the other loose end of ribbon and thread through the other loop. Pick up the crown, place on your forehead and bend to shape. Take the two loose ends of ribbon and tie in a lovely bow at the back of your head.
THE RESULTS

