7 Common Painting Mistakes You Can Avoid

Experts at The Paint Shed have shared the most common things that can go wrong when people take paintbrushes into their own hands. Here are the pitfalls to avoid to be a savvy DIY painter.
5 common painting mistakes
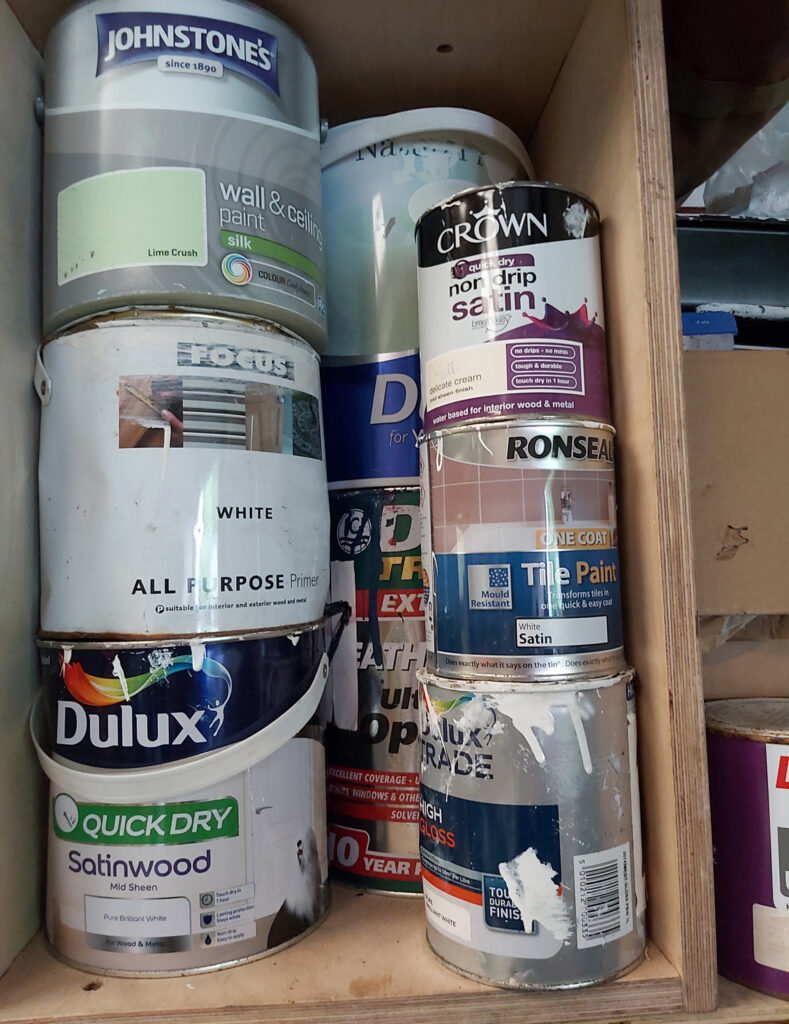
1. Not storing paint properly
Paint can be sensitive to extreme temperatures. Depending on the product and its manufacturer data sheet, most paint is required to be stored in a dry location indoors between 5°C and 35°C. Your metal tins should be kept from moisture to prevent rust.
This means that outdoor storage options may not be ideal for storing your paint due to the chance of sub-zero winters and scorching summers.
Extreme dry heat could cause evaporation of critical chemicals in the paint, including water, which can alter the consistency and colour of the product.
Freezing temperatures can do permanent damage to the emulsion in paint, causing the paint to become a strange consistency. Paint that has frozen and thawed may become ropey, stringy or clumpy. It may be the consistency of cottage cheese or gritty, like sandy water.
Although oil-based paint can freeze, it does so at a much lower temperature than a water-based paint, meaning it is more likely to withstand a British winter.
If you are risking a shed or garage, a handy tip is to cover the top of the open paint can before you secure the lid. This will stop any dirt or debris falling into the paint when the time comes to use it again.
2. Scrimping on tools
Decorating is no cheap task so it is only natural that homeowners would want to cut costs somewhere. However, this shouldn’t be on the tools used for the job. Low quality paint brushes will cause more problems in the long run.
Some of the issues you are likely to experience with cheap brushes includes:
- Loose bristles getting stuck in the paint
- Limp bristles that don’t absorb paint or cover well
- Brush streaks
- Blisters or hand cramps
- Uneven edging due to splayed bristles
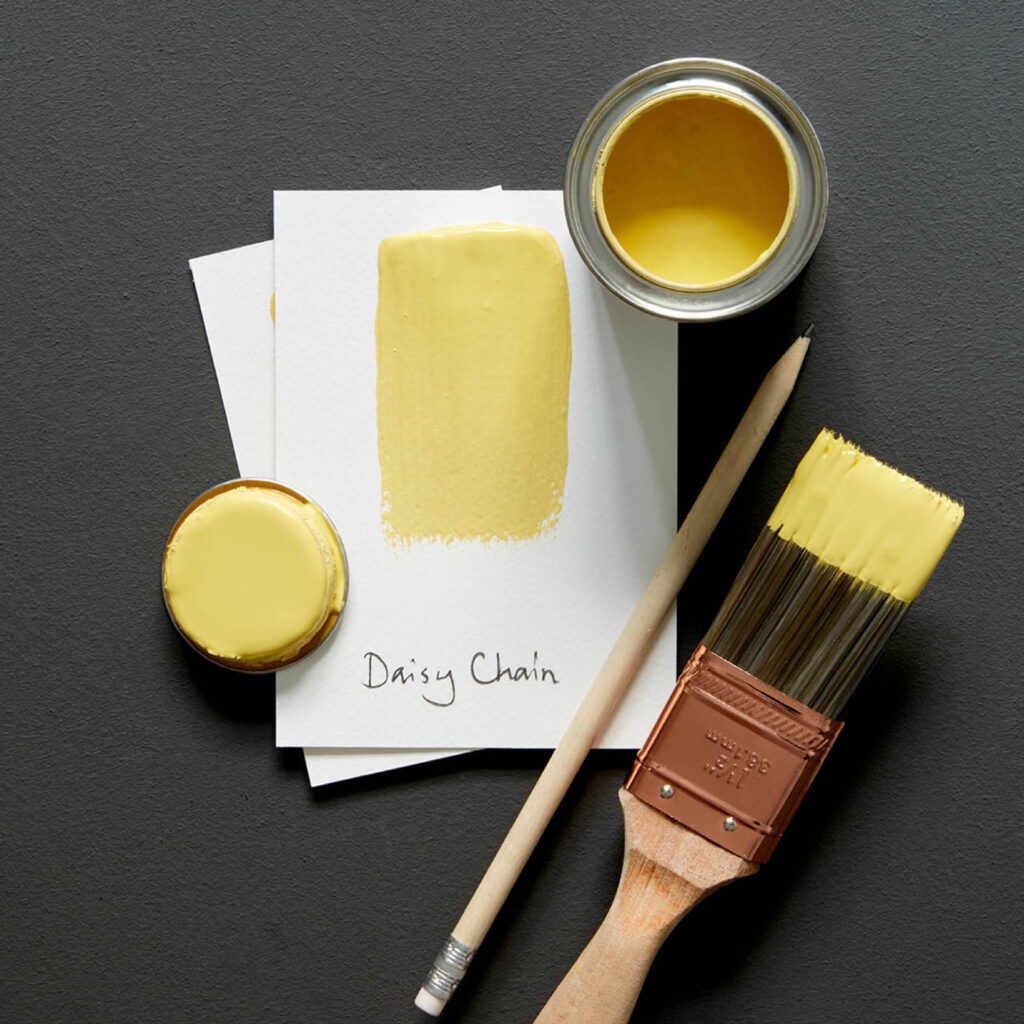
Daisy Chain paint, 100ml sample pot £4.99, Earthborn
Opt for high-quality brushes that you can wash and use again, making them a better investment. Choose an acrylic bristle brush for projects involving a water-based paint as they absorb little water, and natural bristle brushes for solvent-based paints.
3. Removing tape after paint is fully dry
Edging tape has saved many a woodwork but a common complaint of the method is that when pulling off the tape, some of the paint follows. This is usually due to waiting too long to remove the tape.
The tape should instead be removed before the paint is completely dry.
Cutting in isn’t everyone’s favourite job, so here are some tips to help novices perfect their technique:
- Use a light touch: Applying too much pressure on your strokes can lead to mistakes and paint dripping from your brush.
- Use the right type of brush: It is well worth investing in a high-quality angled sash brush. Not only will it make your job easier, it will provide crisp, professional-looking lines that may mean you don’t need to mask at all.
- Wiggle the brush: When it comes to tight corners, wiggling your brush can be a good technique for filling in the areas you may have missed.
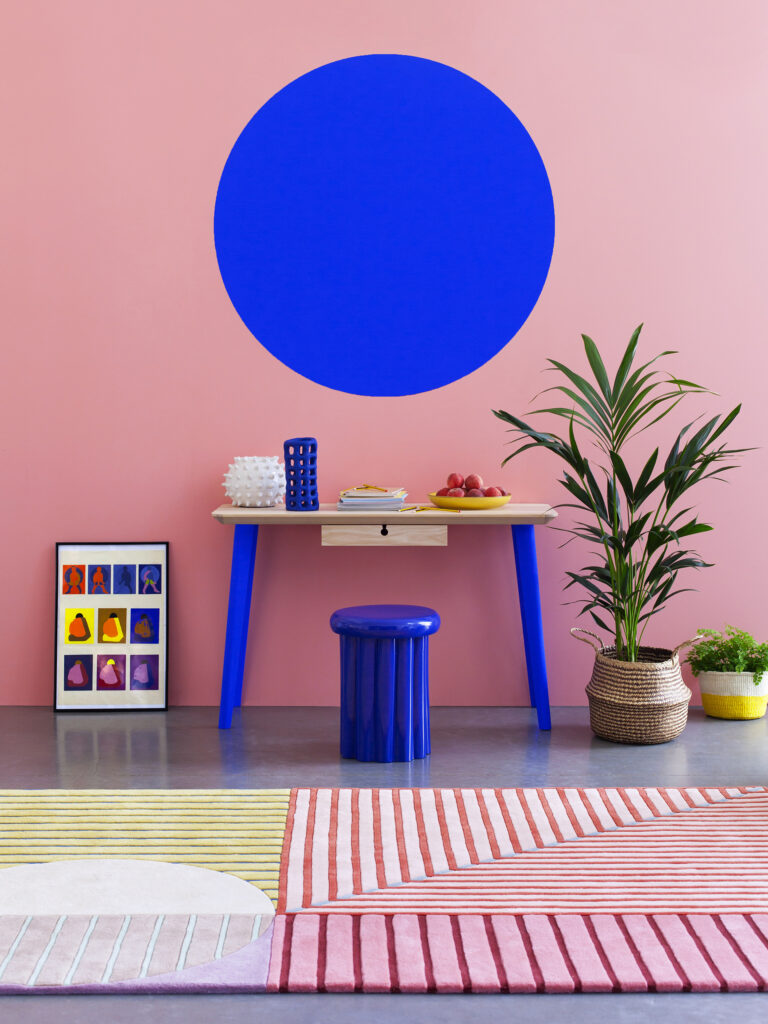
YesColours Electric Blue and Calming Peach, 1L Emulsion from £21, yescolours.com
- Work in bright light: To paint an accurate cut-in line, you will need as much light as possible. Be aware of your own shadow and use a headlamp if you need one.
- Work quickly: Working confidently with a steady hand is the best way to achieve a successful cut in. Glide the brush along the wall using your entire arm in one quick stroke.
4. Brushing too much
It is tempting when painting to keep brushing over the same parts to ensure an even coat. However this is something you should actually avoid doing. Over-brushing can lead to unsightly drag marks in paint as the bristles cling to partially dry paint and force it to move.
There is also more of a risk of losing bristles this way, which can become stuck in the paint.
Load the paint brush and quickly brush the paint across the surface in a smooth motion, using a stroke or two to level it off.
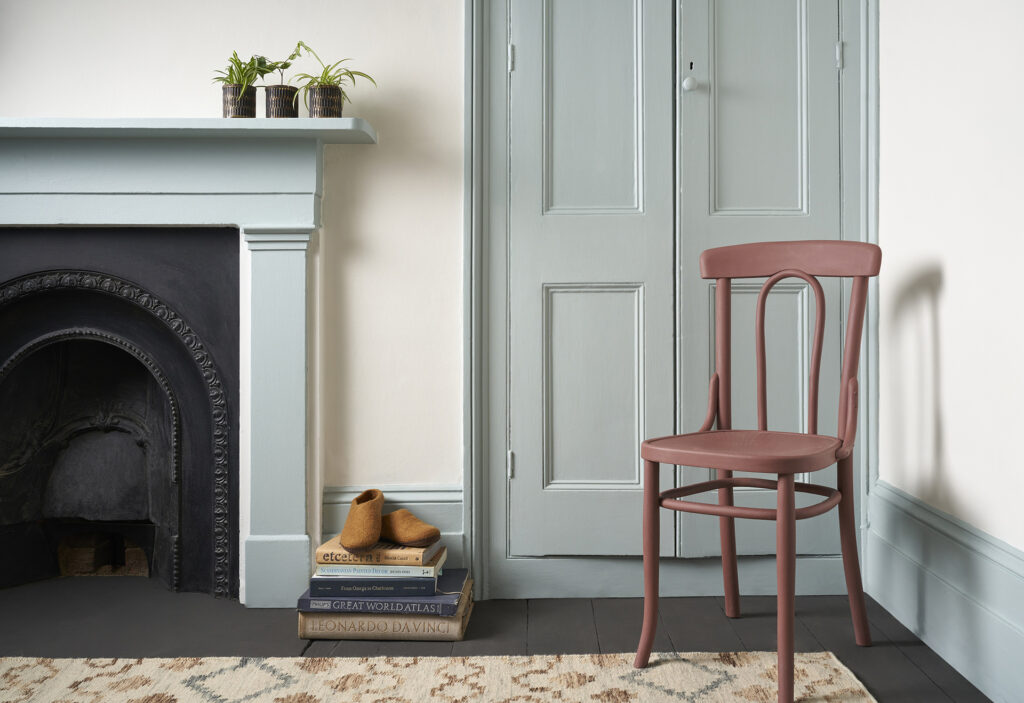
Bedroom Satin Paint in Upstate Blue, £24.95, Chalk Paint in Scandinavian Pink, 1L £26.95, Annie Sloan
5. Not cleaning the surface first
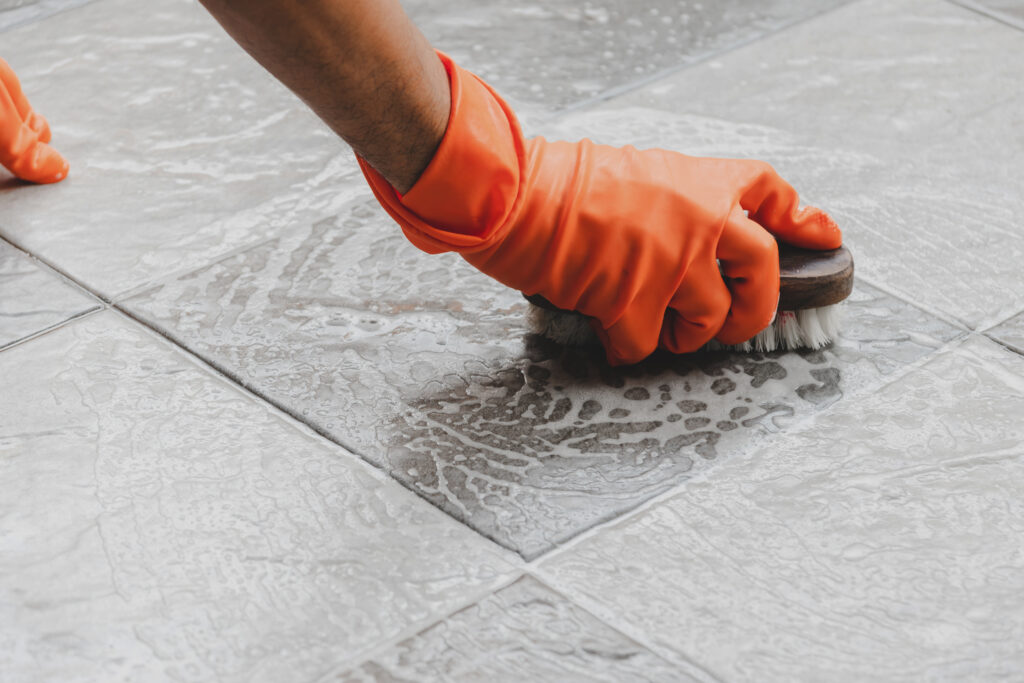
An easy mistake a lot of people make when decorating is not correctly preparing their surface. This means getting rid of cobwebs and giving the walls a thorough clean with soapy water. For surfaces exposed to grease, swap out soap for washing-up liquid or another degreaser in order to cut through the grime. Sugar soap spray can also be used to prepare walls in most situations too.
Follow this up by washing again with clean water to remove the cleaner residue, then finish by wiping with a clean damp cloth.
If you have issues with mildew/mould it is vital that it is treated prior to painting. Painting over mildew will just cause it to grow through new paint, which will just start a cycle of cleaning and maintenance.
The recommended way of dealing with mildew and mould is to use a mould and mildew sterilisation wash or fungicidal wash. You can also clean mildew/mould with a sponge, and a solution that is three-to-four parts water to one part bleach. Apply the solution, allow it to soak in for a few minutes, scrub the affected surface with a soft brush, and rinse the area with clean water. Make sure you wear gloves and allow time to dry.
6. Forgoing primer
Some people will argue that a primer isn’t needed before a paint project. However, if you are looking for a professional finish it is vital this step isn’t missed.
Paint primers act as a base coat, creating the foundation for a flawless paint job. You should always use a primer if you need to cover imperfections, conceal stains or neutralise the colour of a surface before painting. It creates a foundation for brilliant colour and a smooth seamless paint application.
In most cases, we recommend using one coat of primer before two coats of your chosen paint to achieve a professional finish. For porous surfaces (wood/masonry) or to cover dark colours, a second coat of primer may be required.

Up Up Away and Grassy Claypaint, 2.5L £54, Earthborn
If you are questioning the condition of your wall or surface before painting – for example, if it is chalky, stained, powdery or peeling – then a primer is required. This also applies to
- Surfaces that have been repaired or patched in the past
- If you’re moving from a dark to light colour
- Moving from a higher sheen to a lower sheen.
In these scenarios, a primer will support a seamless transition.
7. Using the wrong type of paint
The ‘wrong’ type of paint can either be the wrong finish, or not knowing the best paint for each surface.
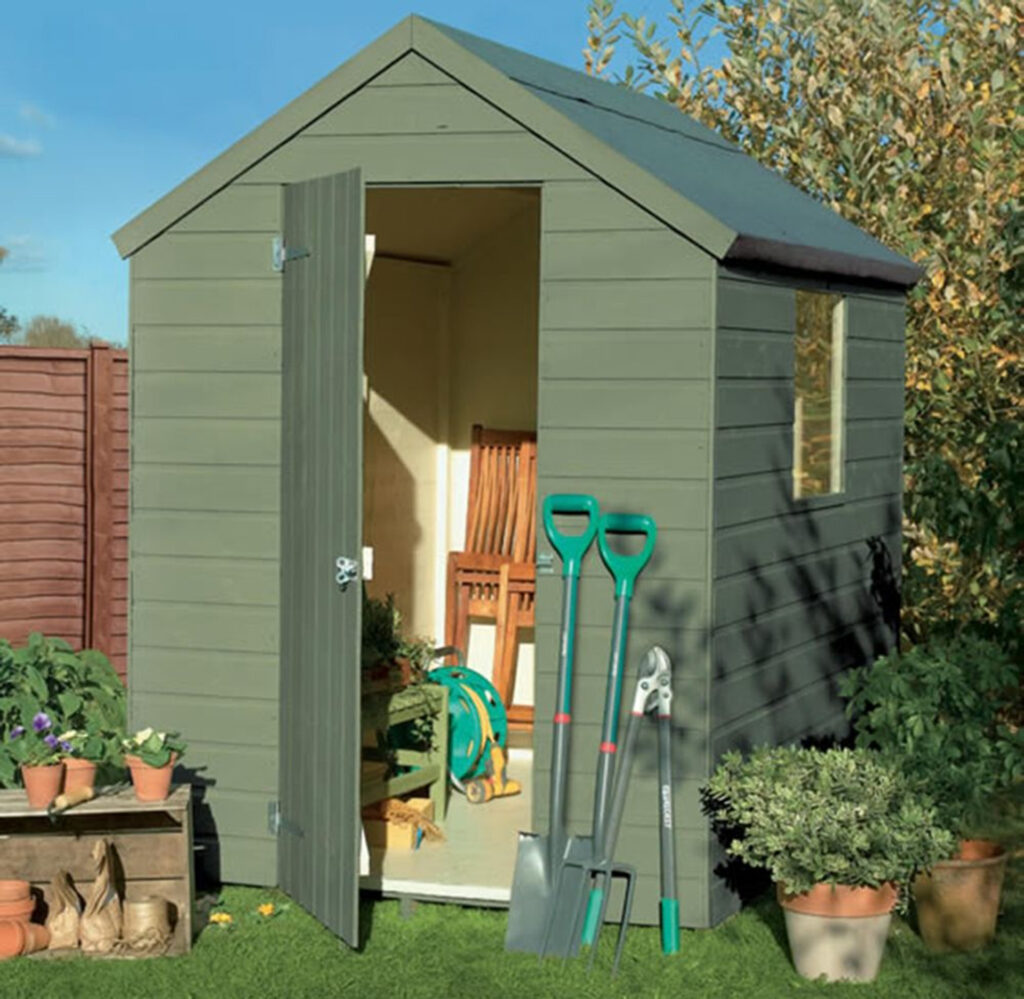
Cuprinol Garden shades Willow Matt Wood paint, 2.5L £25, B&Q
Porous surfaces, such as fresh plaster and bare wood for example, would absorb too much of a water-based paint.
- For fresh plaster, a contract matt or silk is advised.
- For bare wood, a wood primer, undercoat and top coat is recommended prior to painting.
- However if it is an exterior wood surface, a microporous undercoat and top coat are recommended.

Greylake Wood Paint on fencing, 750ml £20, Thorndown Paints
Similarly, you need to know your finishes in order to select the right paint. Most paint brands will have a guide on their finishes on their websites; Farrow and Ball for example have an extensive guide to their paint finishes which is broken down by surface.
Paints and finishes recommended for each room:
Kitchen
- Specifications: Durable, washable and stain resistant
- Recommendation: hi-gloss or semi-gloss finish. Acrylic eggshell or acrylic durable matt (matt needs 1 week to fully cure)
Dining Room
- Specifications: Clean, smooth and moisture resistant
- Recommendation: Durable matt or acrylic eggshell, or even soft sheen depending on finish preference.
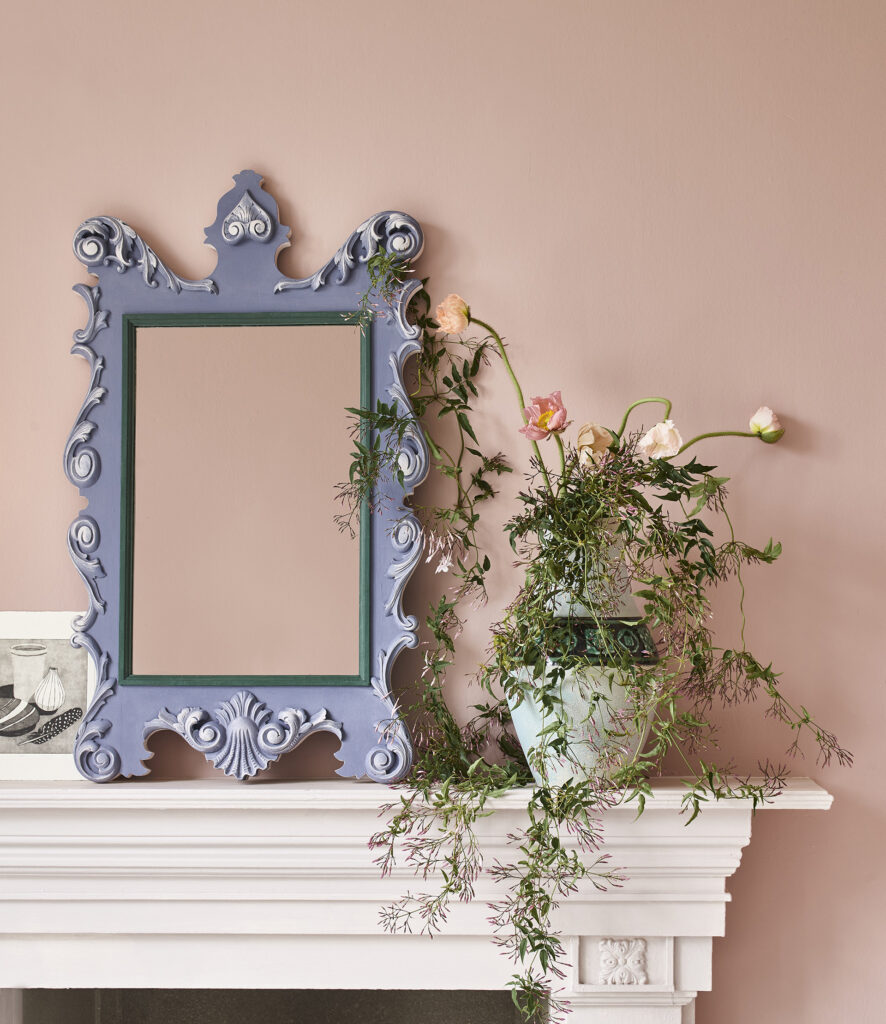
Living Room Satin Paint in Pointe Silk, £24.95; Piranesi Pink Wall Paint, 2.5L £55.95; Chalk Paint In Old Violet 1L £26.95, Annie Sloan
Bedroom
- Specifications: Highly pigmented and long lasting
- Recommendation: Matt finish
Living Room
- Specifications: Hard-wearing and suitable for high traffic areas
- Recommendation: durable matt, acrylic eggshell or soft sheen satin for wood.

